

Use forms to streamline user data entry
Use forms to create an interface for user data entry. Forms allow you to collect user inputs and incorporate them into action workflows, such as adding rows to input tables, setting control values, and calling APIs. Forms can be created manually or from an existing data source.
Forms are a layout element, allowing you to guide users and create focused interfaces as you build AI apps in Sigma.
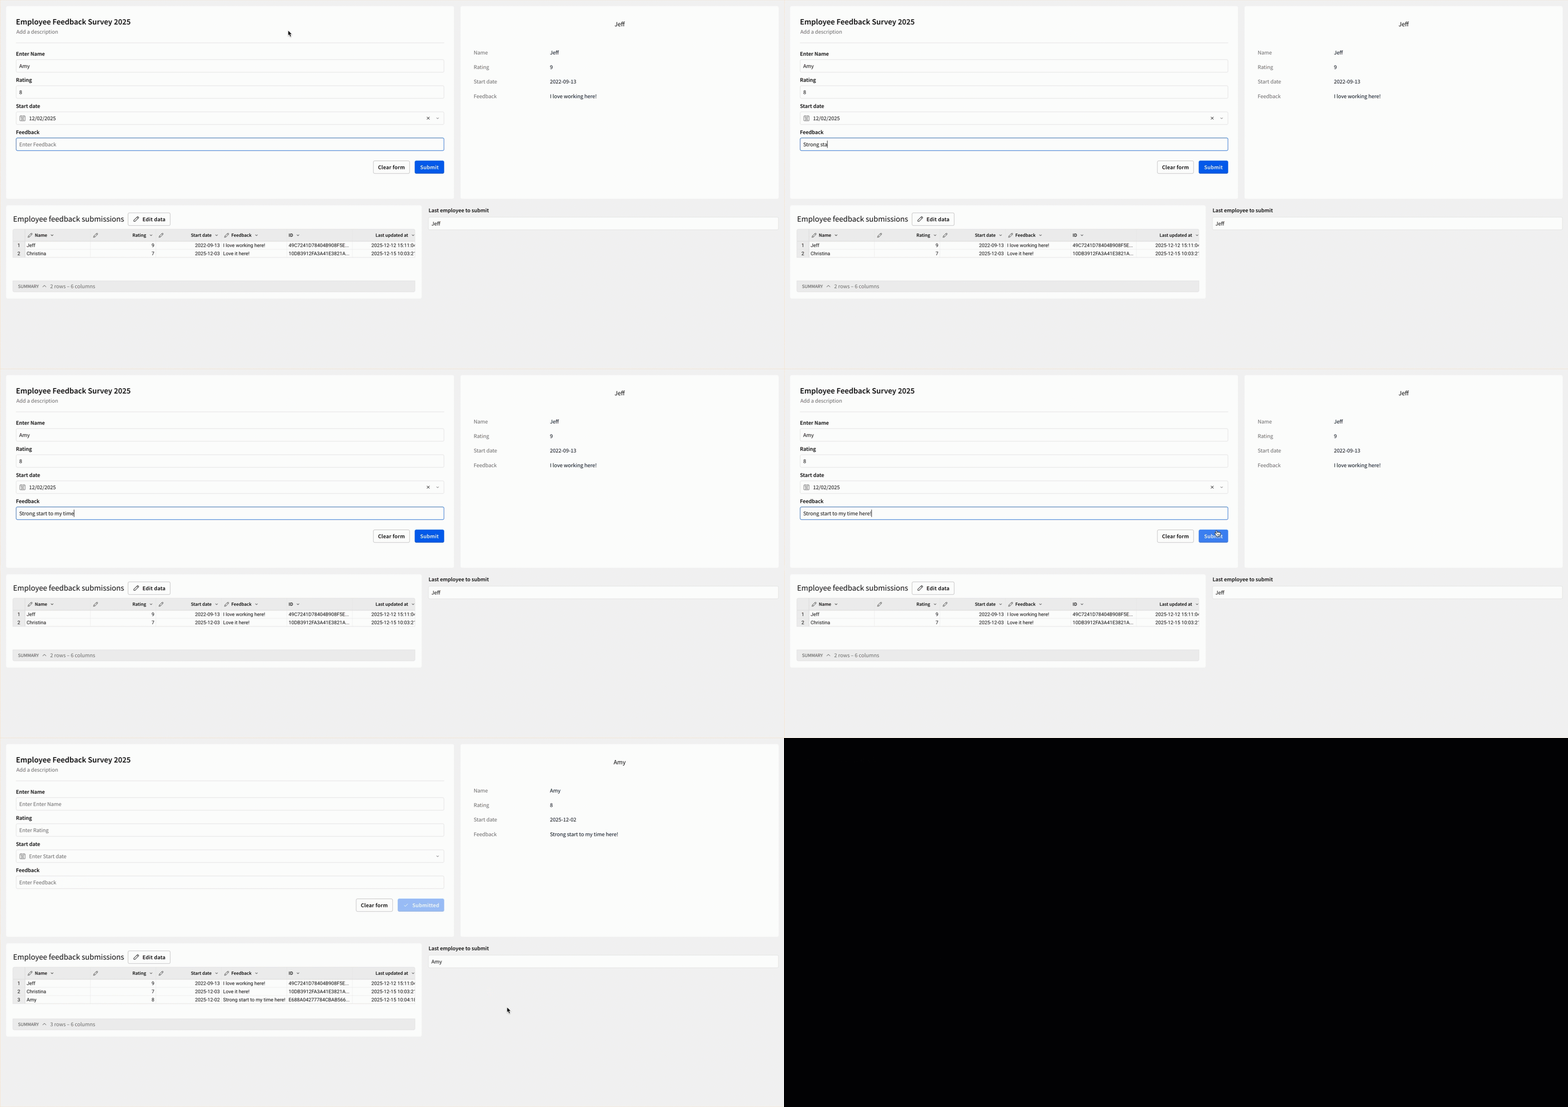
Use forms when you want to:
- Create a survey or poll
- Create an interface for user data entry in an AI app
- Update multiple controls or input tables from one set of user inputs
Prerequisites
- You must be the owner or have Can edit or Can explore permissions on the workbook.
- You must be in Edit or Explore mode for the workbook. See workbook modes overview.
Add a form to a workbook
You can create a form from scratch, or from an existing data source. Regardless of how the form is created, you can customize the form fields and their destinations.
To create a form:
- In the Add element bar, select Layout, and then select Form.
- In the Create new form modal, select the method you want to use to create the form.
- Select Start building to create a form from scratch.
- Select Select source to create a form from an existing data source.
You can also create a form as the child element of an input table to automatically configure the form fields and actions to insert a row into the input table. For more information, see Create a form as a child element of an input table.
Create a form from scratch
If you select Start building during step 2 of Add a form to a workbook, a new form element appears on the canvas with no form fields configured. From here, you can customize form fields and their role in a workflow based on your use case.
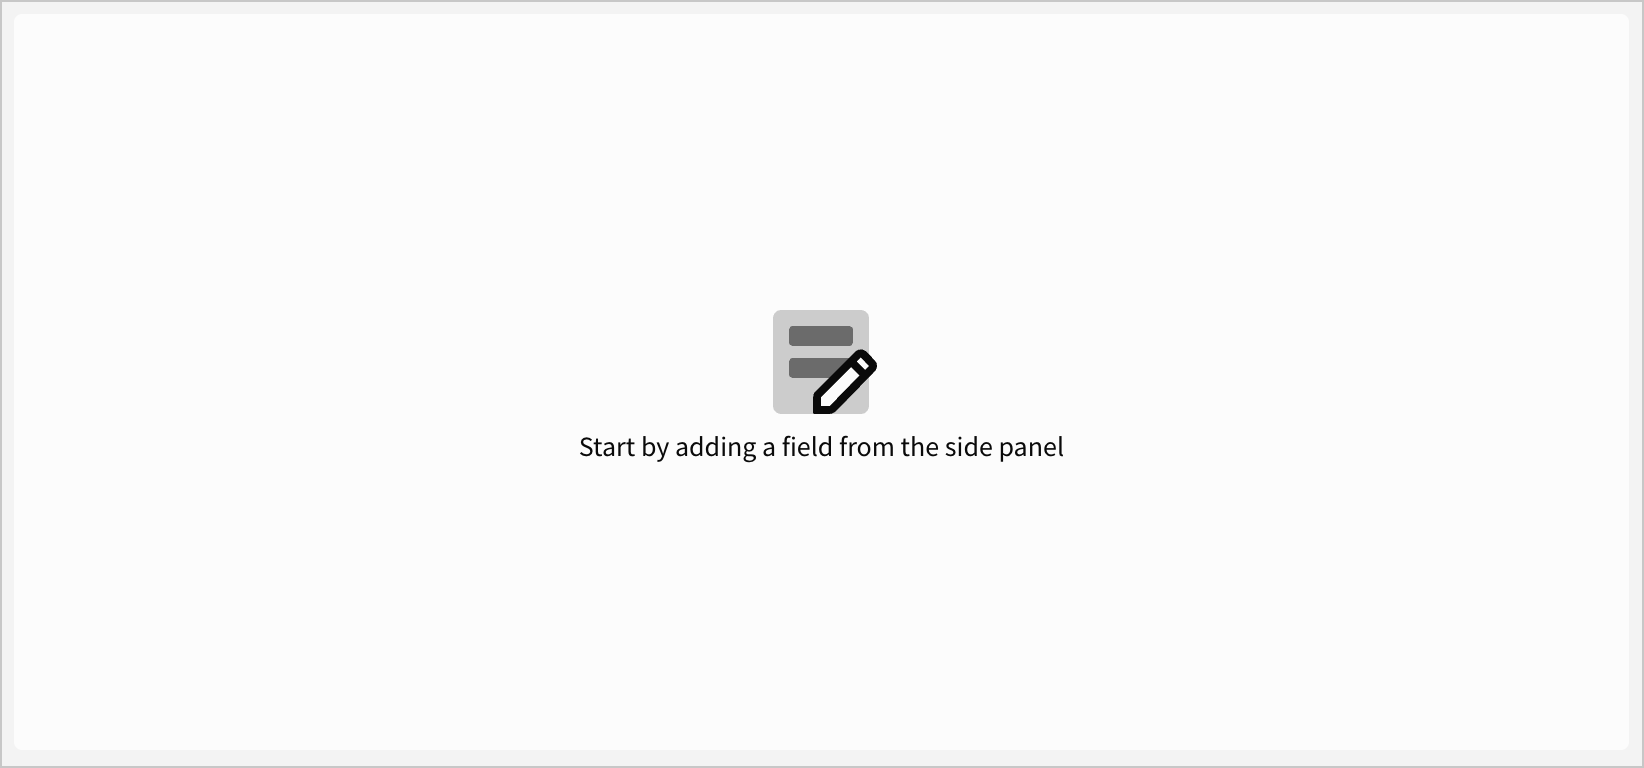
To manually add form fields:
- Select the form element.
- In the editor panel, select Properties.
- In the Form fields section, click
 Add new field.
 - In the New field popover, select a field type.
Field types limit the data type of user input. For example, a Short text field only accepts text data, and a Number field only accepts number data. For more information on data types, see Data types and formats.
The field is added to the form element.
To manually configure the destination of a form field:
- Select the form element.
- In the editor panel, select Actions.
- In the action sequence with an On click - Primary trigger, click Add action.
- Configure an action to set the destination of the form field. For example, you can configure an Insert row action to add a row to an input table based on the current form field values. For more information, see Configure form actions.
Create a form from an existing data source
After selecting Select source in step 2 of Add a form to a workbook, the Select form fields from source modal opens. Creating a form this way allows you to quickly configure fields and actions based on the columns in an existing data source. You can customize the form fields and actions as needed after the form is created.
- In the Select form fields from source modal, select a Source type and Source to use for the form’s fields.
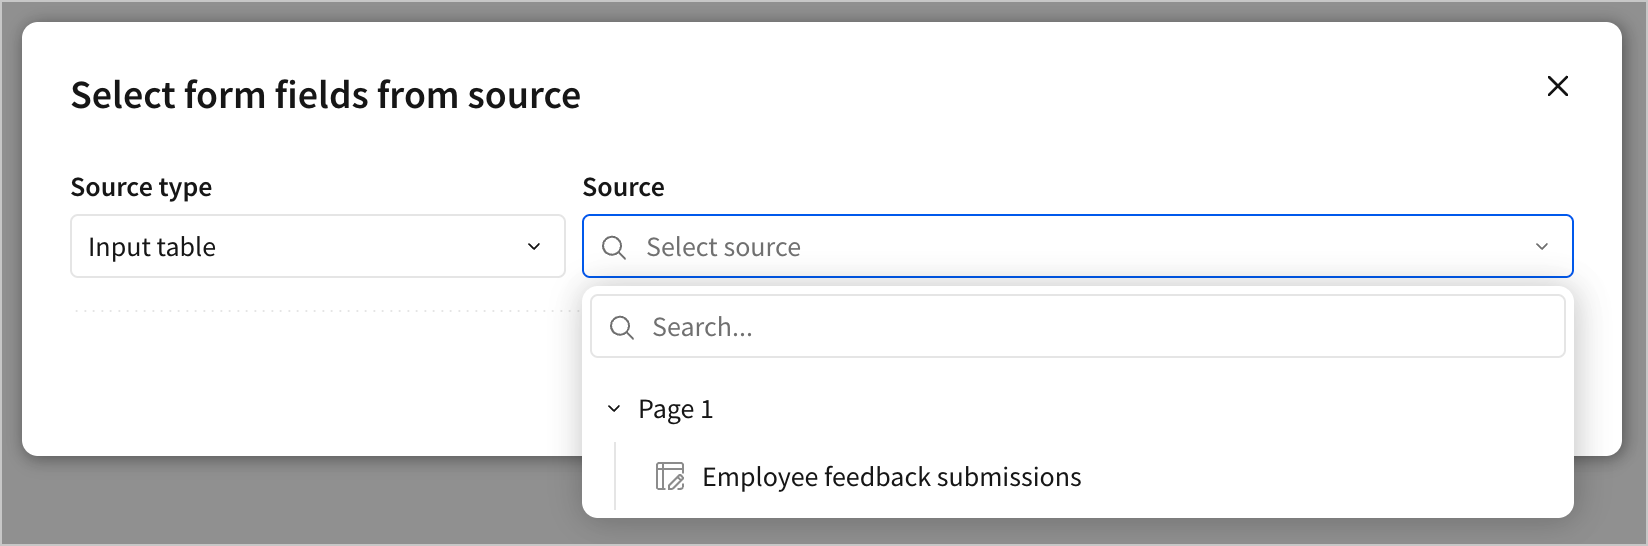
You can create a form from an input table or stored procedure.
- Select the fields to include in the form. For each column in an input table, or for each argument in a stored procedure, you can set a form field name, and select a form field type from a list of compatible options for the column or argument’s data type.
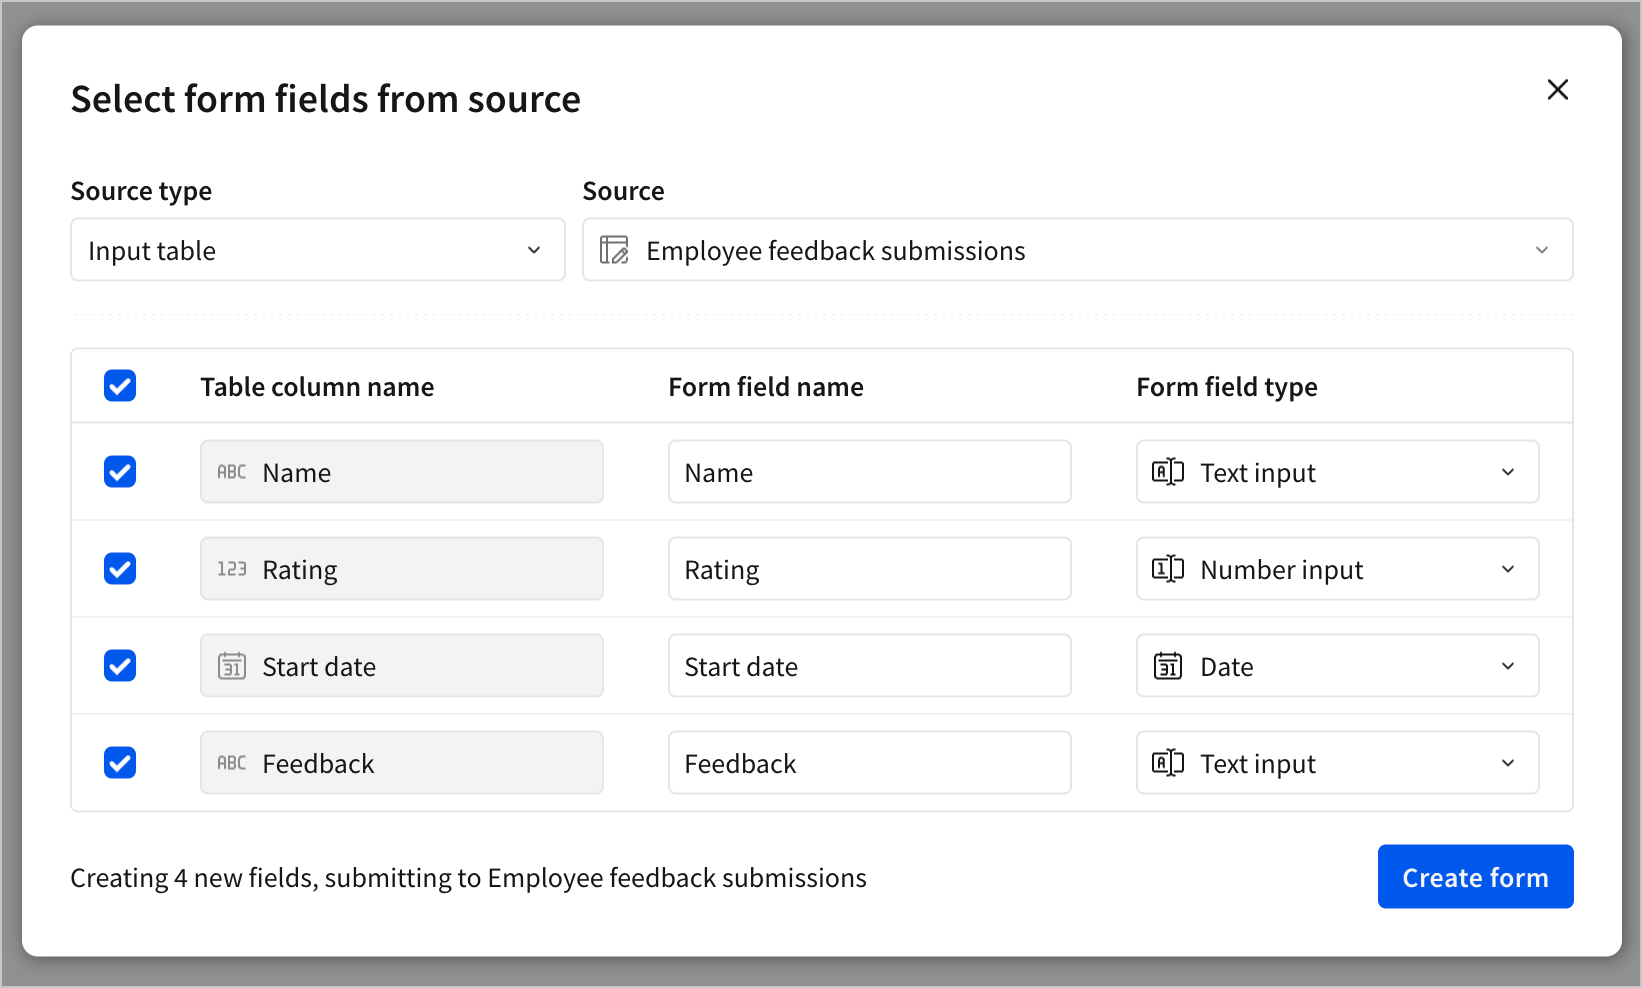
- Click Create form.
The form element is added to the canvas with the selected fields. By default, the form includes an action sequence with an On click - Primary trigger that submits the data to the selected data source and then clears the form fields.
Create a form as a child element of an input table
To quickly configure a form with an input table as its data source, you can create the form as a child element:
- Navigate to the element you want to use as the data source for the form.
- Select
 Create child element > Form.
The form element is added to the canvas with a form field for each column in the input table, as well as an action sequence with an On click - Primary trigger that inserts a row into the input table and then clears the form fields. The form fields are configured with the same name and data type as the corresponding column in the input table.
Import form fields from a data source
If you want to add fields from a data source to an existing form, you can import them directly from the data source:
- Select the form element.
- In the editor panel, select Properties.
- In the Form fields section, click Add new field.
- Select Import fields from….
- In the Select form fields from source modal, select a Source type and Source to import fields from.
- Select the fields to import.
- Click Add new form fields.
The selected fields are added to the form element, along with an action sequence with an On click - Primary trigger that submits the form data to the data source and then clears the form fields.
Create an input table from a form
To quickly configure an input table to collect form submissions, you can create a new input table from the form:
- Select the form element.
- In the editor panel, select Properties.
- In the notice to create an input table, click Create.
- In the Create input table from form modal, select a connection for the input table data, and click Create.
The input table is created with a column for each form field, and an action sequence with an On click - Primary trigger that inserts a row into the input table and then clears the form fields.
Customize a form
To customize the fields, actions, and style of a form, see the following sections:
Configure form fields
In the editor panel, select Properties. Depending on the Field type, configure the following options for each field:
▶ Short text
▶ Long text
▶ Number
▶ Date
Date
▶ Checkbox
▶ File upload
▶ Radio group
▶ Segmented choice
▶ Dropdown
▶ Checkbox group
Configure form actions
By default, forms have two action sequences, one with an On click - Primary trigger and one with an On click - Secondary trigger. For forms created from a data source, the On click - Primary action sequence is preconfigured to insert a row into the data source, and the On click - Secondary action sequence is preconfigured to clear the form fields. Forms can also be configured with an additional action sequence with an On click - Tertiary trigger.
To add an action to the action sequence with an On click - Primary trigger:
- Select the form element.
- In the editor panel, select Actions.
- In the action sequence with an On click - Primary trigger, click Add action.
- Configure an action to define the behavior when the primary button is clicked.
For several action types, including Insert row, Update row(s), Set control value, and Set single row container, you can use a form field as the source for a value. For example, you can configure an Insert row action to add a row to an input table, submitting the form fields to corresponding columns in an input table.
To configure the action sequence with an On click - Secondary trigger:
- Select the form element.
- In the editor panel, select Actions.
- In the action sequence with an On click - Secondary trigger, click Add action.
- Configure an action to define the behavior when the secondary button is clicked.
To configure an action sequence with an On click - Tertiary trigger:
- Select the form element.
- In the editor panel, select Actions.
- Select Add action sequence.
- Configure the action sequence with an On click - Tertiary trigger.
- Select Add action.
- Configure an action to define the behavior when the tertiary button is clicked.
Style a form
In the editor panel, select Format to set the style options in each section.
In the Form style section, set the following options:
In the Header section, set the following options:
In the Form field style section, set the following options:
In the Footer section, set the following options: